Are you interested in a quick solution to update your kitchen? Do you want a new sustainable modern look to your eating space?
First let me suggest you give DBIW a call and find out how to put the DBIW advantage to work in your home. We provide custom cabinetry and millwork in Birmingham and throughout the southeastern United States.
That offer on the table, you may want (as many DIY’ers) to change your kitchen cabinets yourself. It’s an idea you’ve wanted to try but you aren’t quite sure how to get started? Hopefully this will help you.
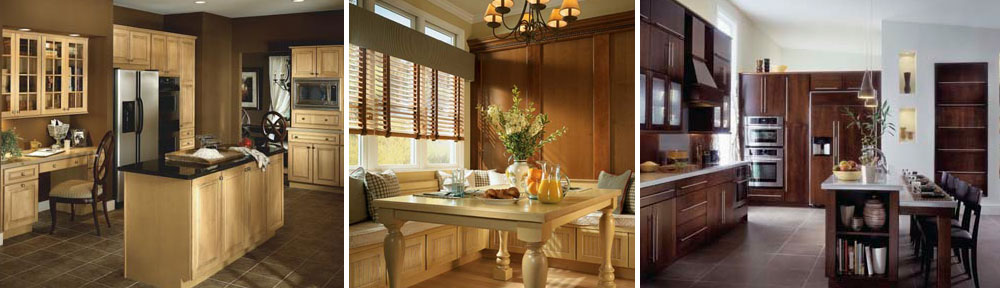
One thing most will tell you for sure, kitchen cabinets are among the first things people notice when they enter your home and your kitchen. Having well built and well maintained cabinets helps not only make your kitchen more appealing. they make your home more appealing and they add to the resale value of your property should you decide to sell and buy somewhere else.
For this Quick project some tools and materials you will need include:
- denatured alcohol
- primer sealer
- semi-gloss paint
- sandpaper
- sanding block
- foam brush
- sponge
- paintbrush
Assembling these items you can begin…
Painting Your Cabinets in Five Steps
STEP 1:
Start with removing the doors to your cabinets and sanding any rough areas of the doors. Finish by wiping away any excess sawdust from the surface with a clean rag. It is also a good idea that, unless you’ve budgeted for change, you place the hardware and screws in some place you will easily remember.
STEP 2:
You need to clean the cabinets. Using a sponge and some denatured alcohol begin to wipe the cabinets. This process removes any grease or dirt build up that may be on the wood. Please be reminded to maintain a well-ventilated area because alcohol emits nauseous fumes. Allow the surface to air-dry before progressing to the next step.
STEP 3:
Beginning in the center, apply a primer sealer using a disposable foam brush. Make sure that the primer sealer goes on evenly and follows the grain of the wood. It will probably take a few thin coats. Each coat of primer sealer will take about an hour to dry. Using a primer sealer allows you to use water-based paint over it. If you are going to be painting on a cabinet with a shiny surface, use melamine primer. This type of primer sealer allows for new paint to stick instead of peeling right off.
STEP 4:
Apply semi-gloss paint with a good quality paintbrush. Again, you want to follow the wood grain with even strokes. Starting at the center of the door helps create a better look as well. You will need about two or three thin coats of paint. Allow each coat at least one hour of drying time before starting the next coat.
STEP 5:
Paint the kitchen cabinet base once you have completed painting all of the doors. You will follow the same steps as the doors.
Note: Some people choose to do something called “color-glazing”. This is a painting technique that allows for the wood grain to show through the paint. It’s usually used in the center of the cabinet panel. To do this technique, mix a one to one ratio of paint and glaze. The glaze makes the paint more transparent. Although, it also extends the time it takes to dry. If you apply too much, just take the excess off with another foam brush.
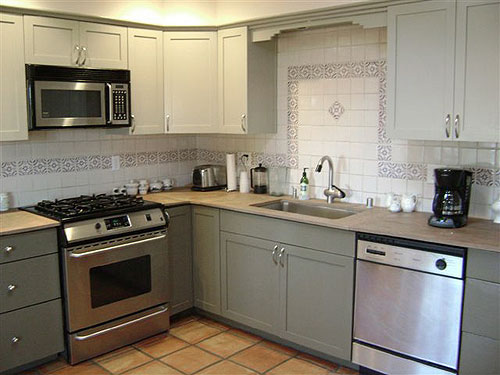
Following these steps, in no time, you can relax and enjoy your freshly painted kitchen cabinets.